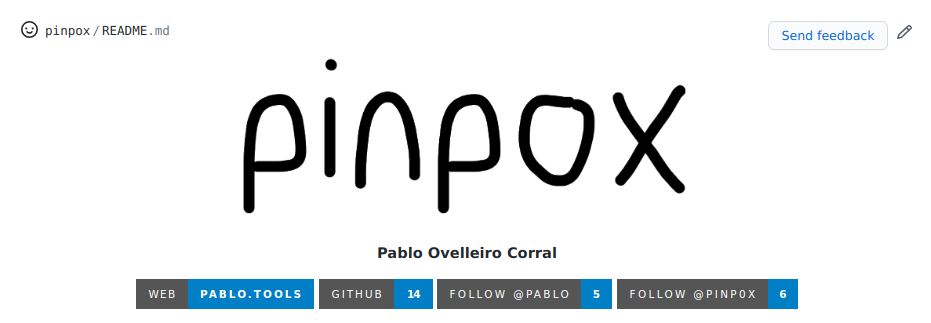
Recently GitHub released a new feature for the profile pages: You can now create
a special repository named github.com/<username>/<username> with a README.md
file which will be displayed to visitors of your GitHub profile. You are free to
put anything in it that github-flavored markdown supports.

I already maintain a personal blog (you are viewing it right now) with
occasional posts, so I thought it would be nice to have a list of the latest
posts linked on my GitHub profile's README.md, along
with some introductory information about me.
While you can edit the file as often as you want manually, that seems like an
additional step to do every time I upload a new post to the blog. What I really
want is to fetch the latests posts automatically from my website and generate
the README.md dynamically from it.
It turns out even with the limited functionality of markdown you can do exactly that with GitHub Actions! No javascript required. No manual work required. Always up-to-date.
Be warned, that this feature was not really intedend to be used like this and while the result pretty cool, quite some hackery is required!
Markdown generator
Let's start by writing the actual generator. You can do this in any language you
want as long as it's supported by github actions. I went with Go because of it's
excellent text/template package wich will be used to generate the markdown
output.
My website is build with hugo and provides a RSS feed with all posts. This is the perfect candidate to fetcht the data we will need.
I used the github.com/SlyMarbo/rss package, a small library for simplifying
the parsing of RSS and Atom feeds with very little dependencies that
gives us easy to work with structs for the items of a RSS URL
feed, err := rss.Fetch("https://pablo.tools/index.xml")
if err != nil {
    panic(err)
}
That's all that is required to get a neatly parsed slice of *rss.Items that
are easy to work with. While this is a very bad way of handling errors in
general, for this purpouse treating any error as fatal will be fine and ensure
that the generation does not continue so at least the latest working version of
the README.md is visible if something goes wrong.
My RSS feed contains all items on the website, including things like the
contact or about pages that are not really posts and should not be included
in the list. These have to be filtered out. Additionally, I have structured my
blog in different topics and would like to group the posts by that categories.
These categories are not something that is present as RSS metadata, but the URL follows a fixed scheme and we can use this to do filtering and sorting. The links to the the posts are composed like this:
https://pablo.tools/posts/<category>/<postname>Let's start by creating a suitable structure that we can later pass to the template:
posts := make(map[string][]*rss.Item)That's quite a mouthful. posts is a map having the categories as string
keys and pointers to individual slices of rss.Items as values.
From the feed fetched above we can now iterate over all posts, filter and append
to the correct slices. The name of the categories are taken from the URL and
capitalized. Also this approach has the added benefit of adding the posts in the
correct order, as the feed is already ordered by date.
for _, v := range feed.Items {
    if strings.HasPrefix(v.Link, "https://pablo.tools/posts") {
        cat := strings.Title(strings.Split(v.Link, "/")[4])
        posts[cat] = append(posts[cat], v)
    }
}
Easy, right? All that is left here is to read the template from a file and
render it to the standard output passing our posts structure as input to it.
t, err := template.ParseFiles("template")
err = t.Execute(os.Stdout, posts)
You can find the complete code of the script in the repository
Output template
The template is contained in a separate file. Go's text/template rendering
engine will allow us to put anything in here, not only markdown, and provide
the additional template directives surrounded with {{ and }} we can use to fill
in the dynamic content.
My template starts with
some static markdown and embedded html blocks, use this as you like. The last
few lines is where all the magic happens. This is where the posts data
structure we created before will start to make sense, as it allows for very simple
code in the template.
{{ range $cat, $posts:= . }}
## {{ $cat }}:
{{range $i, $p:= $posts}}{{if lt $i 5}}- [{{$p.Title}}]({{$p.Link}})
{{end}}{{end}}
{{ end }}
All that is needed are two nested loops and a check for the maximum number of
posts we'd like to show. The first loop will over all categories, the second
one over all posts of that cathegory. Since the outer structure is a map we
can use the keys and values to access all needed strings easily. The headings
will just be the keys while the values (rss.Item slices) are passed to the
second loop.
The inner loop contains a check using the lt (less than) pipeline provided by
the text/template package to limit the output to 5 posts per category. This
will be the 5 most recent posts of every category.
That's all the code! You could do anything you want here to generate dynamic content: Pass the output of other functions, fetch other data from the internet, generate a picture... The options are limited by your imagination.
GitHub Actions
At this point we have a working generator. We can test it by running it locally
and it will print out markdown. Copy-paste it in your README.md and you will see
the output it generates.
Now let's make this automatic. Head over to the GitHub Actions tab of the
repository and start with the recommended Go Workflow action. It will create
a .github/workflows/go.yml file with some default content. We need to modify
a few things for this purpouse.
Keep in mind our final goal is to generate a README.md markdown file, so
let's do exactly that now. The go run command will interpret the go code
without compiling it to a executable. Just add an additional step to the
build: that runs our builder and pipes the output to README.md
- name: Build and Generate
  run: go run builder.go > README.md
To put the file back into the repository itself, another step is needed. We will
check for changed files, commit and push them from and to GitHub itself.
Yes, it reminds me of the movie Inception too.
- name: Commit and push
  run: |-
    git diff
    git config --global user.email "readme-bot@example.com"
    git config --global user.name "README-bot"
    git add -A
    git commit -m "Updated content" || exit 0
    git push
At this point if you push to the repository, a new file should be generated and
displayed in your profile page. This is great for testing, but adding a
time-based execution of the workflow is what we really want. Luckily GitHub
actions support a on: directive with cron-like syntax to run workflows on
predefined times. I keep the push trigger aswell as it might come in handy if
I change the template.
on:
  push:
  workflow_dispatch:
  schedule:
    - cron:  '32 * * * *'
Result
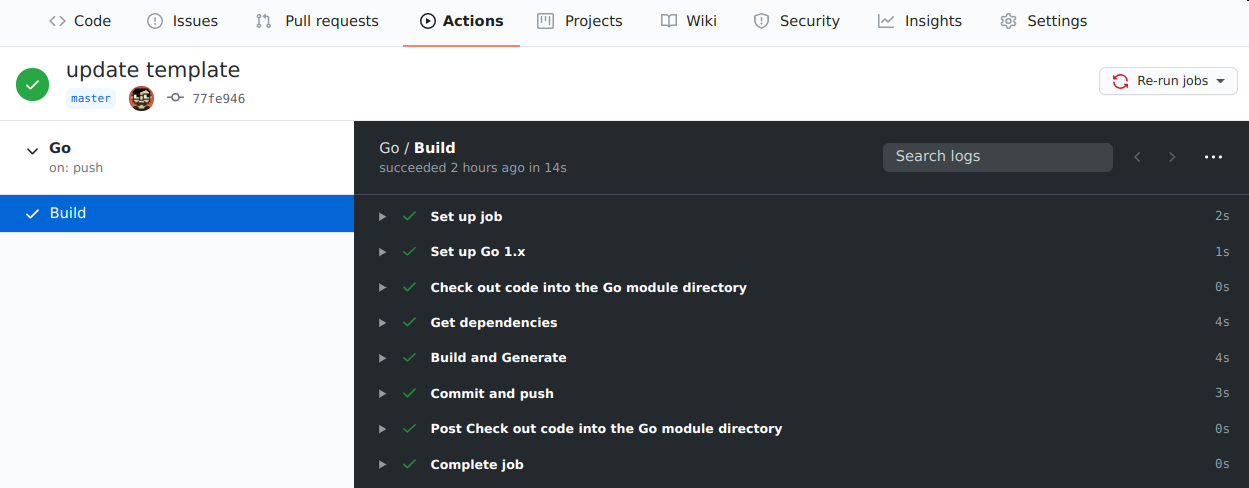
That's it, you're done! The action will run on the specified interval and also on any push. You can track the output on the github workflow status page:

If everything worked correcly it will run builder which fetches the RSS feed, extracts the information, generates a markdown file, commits and pushes it back to the repository. Have fun customzing it to your liking ;)